Learn Automation with MINATA #27: Japanese-Standard (JIS) Electrical Symbols on Drawings
Japanese-Standard (JIS) Electrical Symbols on Drawings
A Vietnamese engineer picks up the electrical drawings of a machine imported from Japan to maintain it. He can read the circuit logic, but stumbles on the notation: contacts marked 「a接点」and 「b接点」, devices coded 「MC」「THR」「PB」, notes all in Japanese. It is not that he does not know electrics — he is simply not yet used to the JIS set of symbols and letter codes. For a business working closely with Japanese equipment and customers like MINATA, reading Japanese-style drawings is a practical skill, not a side matter.
The content of a control circuit is the same in every country — the latching circuit, interlock, reversing (#21–#26) are still those same logics. Only the way symbols are drawn and codes are assigned differs between standards: IEC (Europe/international), JIS (Japan), NEMA (USA). This article focuses on JIS because that is what you meet on Japanese drawings.
This article maps the common JIS symbols and letter codes to the familiar ones, explains the Japanese way of naming NO/NC (a接点/b接点), the device letter codes (MC, THR, PB…), and how to approach a Japanese drawing when you set to reading it.
This article states common conventions for reference. Specific symbols can differ by standard version and by company — always read the legend (凡例) that comes with the drawing. This article does not replace the official JIS documentation.

a接点 and b接点: the Japanese way of naming NO/NC
The most visible difference is how contacts are named. In Japanese documentation:
- a接点 (a-setten): is precisely the normally-open (NO) contact — normally open, closes when actuated. Also called 「メーク接点」(make contact).
- b接点 (b-setten): is precisely the normally-closed (NC) contact — normally closed, opens when actuated. Also called 「ブレーク接点」(break contact).
- c接点 (c-setten): the changeover contact (SPDT) — with a common pole, switching between a and b (covered in #10).
Grasp these three terms and you can read most contacts on a Japanese drawing. The essence is exactly the same NO/NC/changeover you have learned — only the name differs.
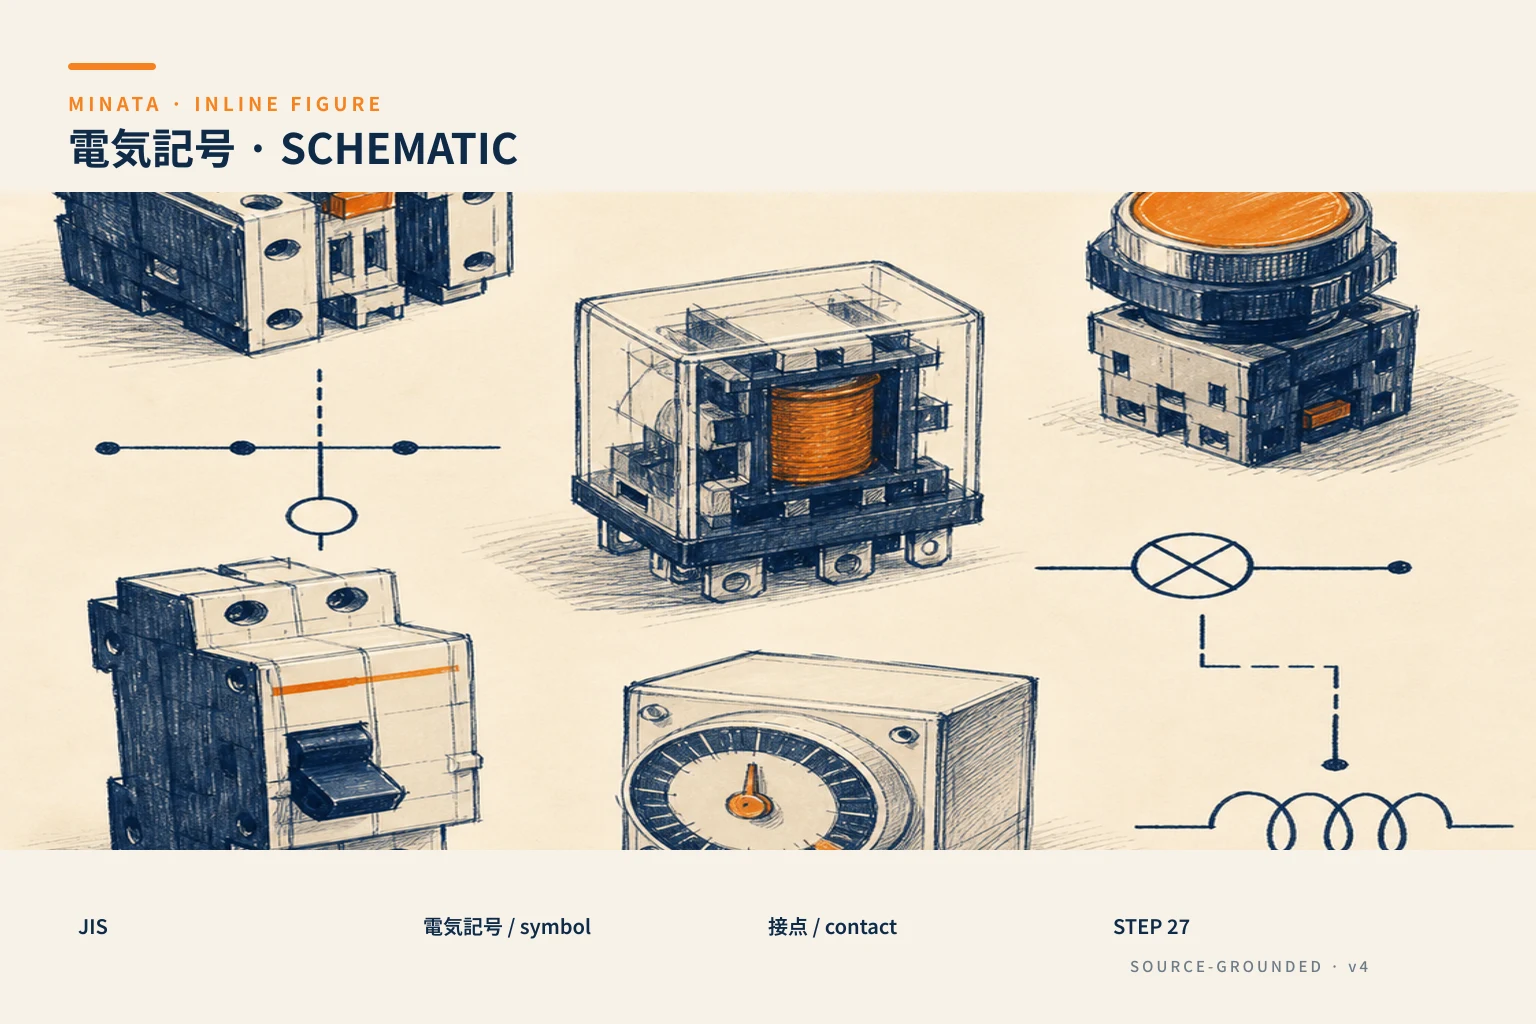

Device letter codes in JIS
On a Japanese drawing, each device has a letter code (text symbol) beside the graphic symbol. Common codes:
- MC / MS: electromagnetic contactor (電磁接触器 / 電磁開閉器). MS usually denotes a motor starter (contactor + thermal relay).
- THR / OL: thermal relay (サーマルリレー) protecting against overload.
- MCCB / NFB: moulded-case circuit breaker (配線用遮断器). NFB is an old name still very common in Japan.
- PB / BS: pushbutton (押しボタン).
- PL / SL: indicator lamp (表示灯 / パイロットランプ).
- R / X: interposing relay (リレー).
- TLR / T: timing relay (タイマ).
- LS: limit switch (リミットスイッチ).
- COS / SS: selector switch (切換スイッチ / セレクタ).
These codes usually carry a serial number (MC1, MC2…) to distinguish several devices of the same type. Knowing the letter-code table lets you read a drawing quickly without looking each one up.
IEC, JIS and NEMA: three "dialects" of one language
To place JIS in context, picture the three symbol standards as three dialects:
- IEC (international/European): common worldwide, used by much documentation and software; contact and coil symbols per IEC 60617.
- JIS (Japan): used on most Japanese drawings; close to IEC in many respects but with its own naming (a接点/b接点) and its own codes (NFB, MC…).
- NEMA (USA): used in North America, with slightly different ladder symbols and device codes (for example CR for control relay).
The good news: the circuit logic does not change between the three standards — a latching circuit is still a latch whether drawn in IEC, JIS or NEMA. An engineer in a multinational environment (like many Japan-Vietnam projects) should be familiar with at least IEC and JIS, and know that NEMA follows the same principles with only different symbols. The fastest way to learn is to always start from the legend of the very drawing you are reading, rather than assuming per the standard you are used to.
Presentation habits of Japanese drawings
Beyond the symbols, Japanese control drawings have a few presentation habits:
- Vertical (縦書き) or horizontal ladder: many Japanese drawings draw the control circuit in vertical columns (the two power rails run horizontally top–bottom, the rungs run vertically), differing from the horizontal habit of some Western documentation. The reading principle is still condition first, result after.
- Rung numbers and cross-references: used similarly to #26, to trace coil ↔ contact.
- 凡例 (hanrei) = the legend: always present on a good drawing; read it first to grasp the symbol conventions of that very set.
- Japanese notes: function names and operating notes are usually in Japanese — this is where a technical-Japanese vocabulary (MINATA's Technical Japanese series) pays off.

How to approach a Japanese drawing
When you receive a set of Japanese drawings, follow this order:
- Read the 凡例 (legend) to know how a接点/b接点, coils and the set's special symbols are drawn.
- Read the device table (機器表): map codes MC1, THR1, PB1… to the real devices (type, ratings).
- Identify the power diagram (主回路) and the control diagram (制御回路): as in #26, read both, tracing same-named devices between them.
- Read each rung by the logic you have learned — the circuit content (latch, interlock…) does not change, only the symbols.
- Note down the Japanese terms you do not yet know, to look up and reuse.
In other words, once you have "translated" the layer of symbols and letter codes, a Japanese drawing reads exactly like the drawings you are used to — because control logic is the common language.
Example: reading a Japanese-style motor-start circuit
Suppose a Japanese drawing has a control rung reading roughly: 「BS0(b) — BS1(a) ‖ MC(a) — THR(b) — (MC)」. Translated into what you have learned:
- BS0(b): the Stop button, a b接点 (NC) contact — in series, stop priority (#21).
- BS1(a): the Start button, an a接点 (NO) contact.
- MC(a) in parallel with BS1: an a接点 contact of the contactor MC itself → the latching circuit (#21).
- THR(b): a b接点 contact of the thermal relay (95-96) → in series, overload cuts out (#13).
- (MC): the contactor coil.
Read as a sentence: "Stop not pressed, and (Start pressed or MC self-holding), and the thermal relay not tripped → energise coil MC". This is exactly the motor-start latching circuit learned in #21, just wearing JIS symbols and codes. Once used to it, you "see through" the symbol layer to the familiar logic beneath.
On the power diagram (主回路), you will see the main contacts of that same MC closing three phases to the motor, through THR, exactly the starter structure of #12–#13. Tracing the same-named device (MC) between the two drawings is the key.
Common Japanese terms on drawings
Some terms that appear often, gathered for quick reference:
| Japanese | Reading | Meaning |
|---|
| 主回路 | shu-kairo | Power/main circuit |
| 制御回路 | seigyo-kairo | Control circuit |
| 電源 | dengen | Power supply |
| 接点 | setten | Contact |
| 押しボタン | oshi-botan | Pushbutton |
| 表示灯 | hyoji-tō | Indicator lamp |
| 非常停止 | hijō-teishi | Emergency stop (E-stop) |
| 凡例 | hanrei | Legend |
| 機器表 | kiki-hyō | Device table |
| 端子 | tanshi | Terminal |
| 接地 | setchi | Earthing/ground |
You do not need to memorise them all at once; reading a few drawings and looking them up gradually builds familiarity. What matters is recognising them and knowing where to look them up. This vocabulary overlaps directly with MINATA's Technical Japanese series — learn it once and use it for both reading drawings and communicating on-site.

Why this matters for MINATA
MINATA works closely with Japanese equipment, documentation and customers. Being able to read Japanese-style electrical drawings gives three practical benefits:
- Maintaining and integrating Japanese machines: understanding the circuit correctly to repair, improve, and connect to a new control system (for example replacing with a Delta AX-308E).
- Communicating with Japanese customers/partners: using the right terms (a接点, MC, 主回路…) makes technical exchange accurate and builds trust.
- Two-way conversion: when making drawings for a Japanese customer, use the symbols and codes they are used to; when receiving them, read them at once.
This is also why MINATA maintains a whole Technical Japanese stream alongside Automation — the two skills complement each other when working in a Japan-Vietnam environment.
Common mistakes
- Confusing a接点 (NO) with b接点 (NC) → misunderstanding the circuit logic backwards.
- Skipping the 凡例/機器表 tables, guessing the symbols and letter codes.
- Confusing NFB/MCCB (a breaker) with a contactor just because the code is unfamiliar.
- Misreading the direction of a vertically-drawn diagram out of horizontal habit.
- Skipping Japanese notes that contain important conditions/warnings.
- Assuming symbols per the standard you are used to (IEC) when the drawing uses JIS, leading to misreading a few specific symbols.
JIS drawing-reading checklist
- [ ] Remember a接点 = NO, b接点 = NC, c接点 = changeover.
- [ ] Learn the common letter codes: MC, THR, MCCB/NFB, PB, PL, R, TLR, LS.
- [ ] Read the 凡例 (legend) and 機器表 (device table) first.
- [ ] Distinguish 主回路 (power) from 制御回路 (control).
- [ ] Apply the rung-reading and cross-reference method of #26.
- [ ] Look up and record technical-Japanese terms to reuse.
- [ ] Remember the circuit logic does not change between IEC/JIS/NEMA — only the symbols.
- [ ] When making drawings for a Japanese customer, use the symbols and codes they are used to.
- [ ] Combine a technical-Japanese vocabulary to read notes and communicate accurately with the customer.
- [ ] For a large system, mind the hierarchical codes (IEC 81346) identifying devices across the whole plant.
JIS symbols are not a wholly foreign system — they are the Japanese way of writing the same electrical concepts you already know. Learning the "alphabet" of a接点/b接点 and a few MC/THR letter codes is enough to unlock a whole store of Japanese drawings, and that is a real advantage when working in a Japan-Vietnam environment like MINATA's.
Read more automation knowledge at MINATA: https://minatavn.com/en/blog/industrial-automation
Previous — #26: Reading a control diagram left to right: https://minatavn.com/en/blog/automation-26-reading-electrical-diagrams
Next — #28: Wire and device numbering in a control panel: https://minatavn.com/en/blog/automation-28-wire-device-numbering
View all MINATA technical articles